

DIY Bar Cart
I was feeling like tackling a project, but not a huge project. I was also trying to figure out what to do with some space in the kitchen and I started poking around in the basement. We were done with M's changing table for a few months and it was just taking up space down there. My gears started turning and I wanted to find someway to use it again. Bar carts are so hot right now and I was shopping for one online but why not make one?

The before - in our old house
The changing table was pretty simple. It is just a simple Ikea changing table. I guess Ikea no longer sells this exact model in the U.S. but here is the one that is the most similar.
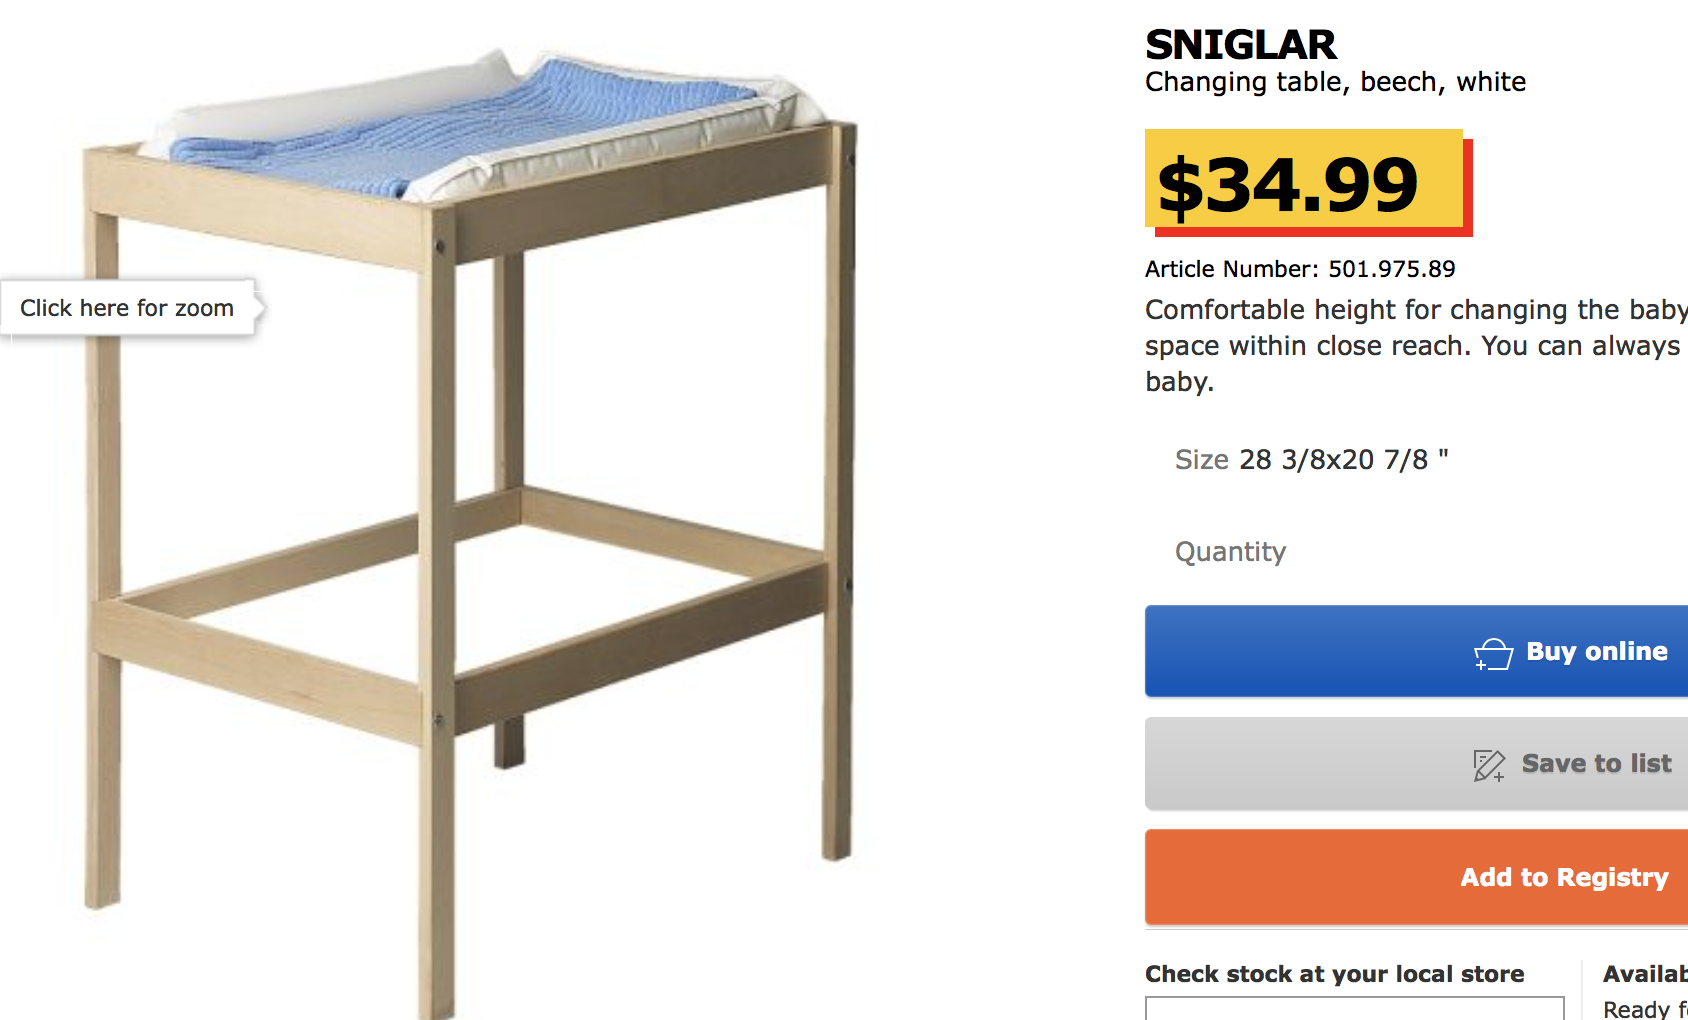
The only major difference that I can see is that ours had an extra shelf in the middle. And it's obviously dark brown. I guess dark brown is no longer in vogue for baby's rooms because it seems like they don't sell any baby stuff in dark brown and longer. I feel a little old now that the entire color scheme that I picked out for my first baby is so outdated. But I digress.
The dining room has our lovely dark stain everywhere after those first frazzled weeks in our new home. So it fit perfectly, but I imagine that you could stain the blond wood that they use now to be whatever you want it to be. I would just sand and stain it and add a coat of poly.

Changing table with baby M
In these pictures above and below you can see the original use, the dark brown (was it black? I mean it looks black - no I checked it's def brown.) Also hanging out nearby is my cute sweet little baby M. She was such a tiny little cutie pie. Oh babies, why must you slay me so.

T was rolling his eyes at the prospect of a project on this particular weekend, but I promised it would be easy. We knew we wanted to change the surface of the shelves from the white changing table look. We considered using tile because of the wide variety of types to choose from. We even bought some tile and laid it on the top - but then we found it was quite heavy.
These changing tables are designed for little 8 pound babies. Those little sweet-smelling bundles fresh from the hospital - not heavy tile AND THEN bottles and bottles of booze. So T actually came up with the idea to cut pieces of wood and fit them in like tile.
He bought long 1x4's from Home Depot. He just used "common board". Nothing fancy. I really like the way it turned out too. It is all knotted and flawed and rustic looking. Since the top is 30 3/4 inches lengthwise, and we wanted them to be staggered to have a tile effect, he cut them into 18 inch pieces, then cut some into 12 inch pieces. Then we sanded them and made sure that they fit.

We went back to our trusty Varathane Kona stain that we used for the trim, but we only did one coat since I wanted a more rustic look than we did on the rest of the dining room trim. You can find it here. The result of your stain will always depend on the kind of wood that you use. If you look at the "BAR" sign that I made that hangs above this little bar cart, (artist formerly known as the changing table) you will see that it looks much darker than the wood that we used for the table top. It's the same stain. It's just different wood. It absorbed much more of the stain and so it came out darker.

Once the pieces were cut, sanded, stained and dry we fit them into each shelf like a boozy Melissa and Doug puzzle. Ha!
If you look at the very back of the shelf in the photo below you will see that we had about one inch of space left to cover that the boards didn't quite fit. T just picked up a random extra piece of wood that he had lying around and prepped it then put it in. It isn't even the same type of wood. Usually that is something that would bother me but I have not even thought about it again until today!
Once we had the boards locked in we did a coat of polyurethane over the top. Recently, since I fell in love with the coating we did on the floor, we added a layer of that to protect from the wear and tear of our family of booze hounds. You can find it here. We also used it on the shelf in C's room. It's a great product.

Next, T bought a towel bar and put it on one side. We were going to spray paint it gold but we never really got to it.
Then we waited for it to dry and that's it! We added the bottles of liquor that were clogging up my wine cabinet to the second shelf, the top is mostly decorative but it serves an occasional function during a dinner party. I use the very bottom to store a big cheese board.

Newly finished bar cart!
We have had this as a bar cart for about 18 months now and we love it. At first I was worried that the kids would mess with it, but they lost interest after about 30 minutes and haven't touched it since. I also finally hung the "BAR" sign on the wall. It sat like that for about a year. I don't know why I didn't hang it!
I love to use the top to change up seasonal decor. In the most recent photo it is decorated for winter/Valentine's day.
Here you can see it decorated for other times of year. I LOVE seasonally decorating! I always go with a neutral base for the rooms in our main living area so I can change up the decor depending on the season/holiday.

Halloween decorations - I LOVE Halloween by the way!

Decorated at Christmas. Christmas is my favorite holiday of all.

Wine tasting on our bar cart!
Finally, decorated for a wine tasting that I hosted. My guests were surprised that they were selecting a wine glass off of what used to be my baby's changing table!
It was a fun little project and we are still very happy with it.

